The first time I made vegan deep-fried pickles, they emerged from the oil like sad, soggy green coins—flaccid where they should’ve been crisp, clinging to the basket like they were afraid to let go. I’d followed some blogger’s advice to use all-purpose flour and a splash of plant milk, thinking how hard could this be? Turns out, very. It wasn’t until I understood the double-dredge revelation—that the secret wasn’t just in the batter but in the architecture of the coating—that everything changed. Now, my pickles stay shatteringly crisp for 20 minutes after frying, with a crust that crackles like autumn leaves underfoot. Here’s how I got there, and why most recipes are setting you up to fail.
Why Most Versions of Vegan Deep-Fried Pickles Fail
The classic mistake? Treating them like onion rings. Most recipes tell you to dip the pickles in a thin batter or a single layer of flour, then plunge them into hot oil. What you get is a coating that either slides off in greasy sheets or turns into a dense, bready shell that steams the pickle into mush. The texture is all wrong—no contrast, no crunch, just a limp shield of fried dough.
The right version should have three distinct layers of texture: the snappy brine of the pickle, a fragile but sturdy crust that fractures at the slightest bite, and a whisper of air between them so the pickle doesn’t turn into a sad, soggy sponge. Achieving that means rejecting the “dip-and-fry” approach entirely.
The Ingredients That Actually Matter
I’ve wasted entire jars of pickles on the wrong ingredients. Here’s what actually works—and why.
The pickles themselves must be dill chips, not spears or whole, and they have to be the refrigerator kind (like Claussen or Grillo’s), not shelf-stable. The latter are too soft and waterlogged; they collapse under heat. I use about 300g of chips, patted bone-dry with paper towels. Any moisture left on the surface turns to steam in the oil, which means your crust will blister and detach.
The flour isn’t just flour—it’s rice flour and cornstarch in a 2:1 ratio. I tried all-purpose, chickpea, even gluten-free blends, but rice flour gives that sand-like crispness (think tempura), while cornstarch adds a glassy shatter. 120g rice flour to 60g cornstarch is my non-negotiable base.
The liquid binder is where most vegan recipes go wrong. Plant milk? Too thin. Aquafaba? Makes the coating gummy. The winner? Vodka and sparkling water, 60ml each. The alcohol cooks off, leaving a lace-like structure, while the carbonation aerates the batter. If you skip this, your crust will be dense and oily.
The seasoning isn’t just salt. I add 1 tsp smoked paprika, ½ tsp garlic powder, and ½ tsp MSG to the dry mix. The MSG isn’t optional—it amplifies the pickle’s tang and makes the crust taste more fried. (If you’re anti-MS, fine, but your pickles will taste flat.)
The oil must be refined peanut or sunflower, at 190°C. Olive oil smokes and imparts a bitter taste; coconut oil makes them greasy. And no, an air fryer won’t cut it—you need the violent bubbling of deep-frying to set the crust instantly.
The Moment Everything Changes: The Double-Dredge Revelation
For years, I’d dip the pickles in batter, then fry them, wondering why they’d either bald or turn to lead. Then I stole a trick from Korean fried chicken: the double-dredge.
Here’s how it works:
- First dredge: Toss the dried pickle chips in the rice flour-cornstarch mix (no liquid yet). This creates a thin, starchy base layer that clings to the pickle’s ridges.
- Wet dip: Plunge them into the vodka-sparkling water slurry. The starch from the first dredge absorbs the liquid, forming a gluey matrix.
- Second dredge: Back into the dry mix, pressing gently so the coating adheres in jagged peaks. This is where the crust’s texture is born—those uneven edges crisp into delicate shards.
Without this, you’re just making fried batter blobs. With it, you get a crust that stays crisp long enough to argue about who gets the last one.
How I Actually Make It Now — Step by Step
Prepping the pickles: I dump 300g of dill chips onto a wire rack set over a baking sheet (to let air circulate) and pat them dry with paper towels until they squeak. Any moisture is the enemy. Then I let them sit uncovered in the fridge for 30 minutes to dry further. This step is boring but critical—skip it, and your crust will bubble and detach.
Making the dredges: In a wide bowl, I whisk together 120g rice flour, 60g cornstarch, 1 tsp smoked paprika, ½ tsp garlic powder, ½ tsp MSG, and 1 tsp fine salt. In another bowl, I mix 60ml vodka and 60ml ice-cold sparkling water (the coldness keeps the batter from absorbing too fast).
The double-dredge: Working in batches, I toss a handful of pickles in the dry mix, shaking off the excess. Then I dip them in the wet mix, letting the excess drip off for 10 seconds (any longer and the coating gets gummy). Back into the dry mix they go, where I use my fingers to press the crumbs onto the pickles like I’m breading a cutlet. The coating should look rough and uneven—that’s how you know it’ll be crisp.
Frying: I heat 1.5L of peanut oil in a Dutch oven to 190°C (use a thermometer—guessing is for amateurs). The pickles fry in batches for 90 seconds total, turning golden at the edges. They’ll float and bubble violently at first, then quiet down when done. I listen for the sizzle to shift from a roar to a steady hiss—that’s the cue to pull them out.
Draining and serving: A wire rack is essential here; paper towels make the crust soggy. I sprinkle them with flaky salt while hot, then serve immediately. The window for peak crispness is 15–20 minutes, but they’re still good for an hour if kept warm in a 200°C oven on a rack.
The Failures I Still See—and How to Fix Them
Soggy crust that slides off: Cause: wet pickles or not enough starch in the dredge. Fix: Dry the pickles thoroughly (I’ve taken to blotting them with a clean kitchen towel after the initial pat-down), and increase the cornstarch to 75g if your kitchen is humid.
Oily, dense coating: Cause: wrong liquid ratio or oil temp too low. Fix: Use equal parts vodka and sparkling water (no substitutions), and fry at 190°C—no lower. If your oil isn’t hot enough, the crust absorbs grease like a sponge.
Pickles taste bitter or burnt: Cause: oil too hot or reused too many times. Fix: Never let the oil exceed 195°C, and strain and refresh the oil after every two batches. Burnt oil ruins everything.
When I Make This and What I Serve It With
This isn’t a “whenever” dish—it’s a crowd silencer. I make it for game days, potlucks, or when I need to convert a skeptic about vegan food. The ideal lineup:
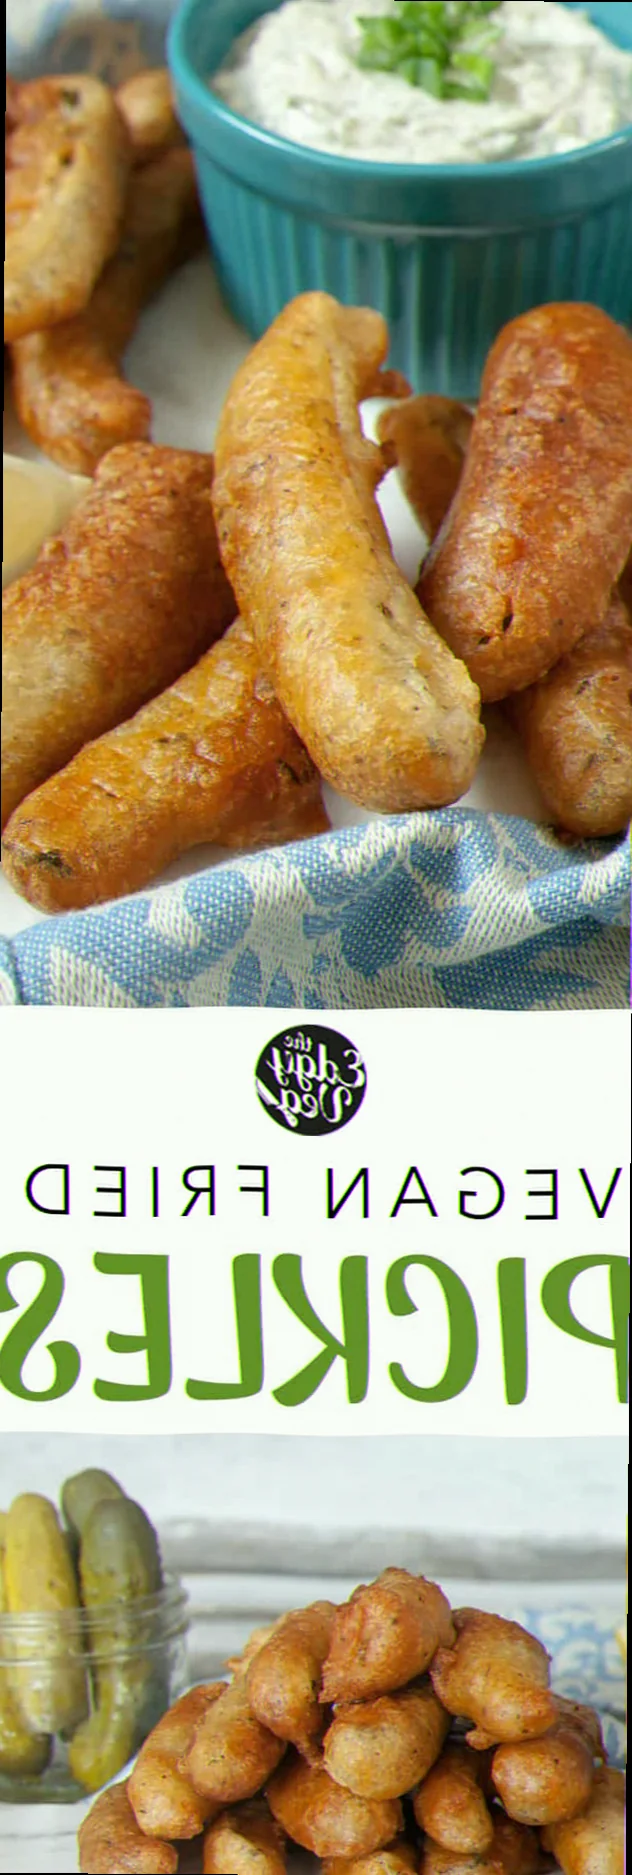
- Smoky white bean dip (for contrast—the creaminess cuts the pickle’s acidity).
- Spicy mayo (vegan mayo + sriracha + lime juice) for dipping, because the heat makes you reach for another pickle.
- Ice-cold lager (like a Pilsner) to cut through the fat.
Pro tip: Serve the pickles on a metal tray or cast-iron skillet—they stay crisp longer than on a plate.
Substitutions I’ve Tested Honestly
- Rice flour → chickpea flour: The crust turns out mealy and dense. Only do this if you’re allergic to rice; accept that the texture will suffer.
- Vodka → sparkling water only: The crust lacks structure and browns unevenly. The alcohol is non-negotiable for crispness.
- Dill chips → bread-and-butter pickles: Too sweet, and the coating caramelizes instead of staying crisp. Stick to dill.
- Gluten-free? This recipe is already GF if you use certified rice flour. No adjustments needed.
Questions I Get Asked About Vegan Deep-Fried Pickles
“Can I bake these instead of frying?”
No. I’ve tried—even at 220°C with oil spray, baked pickles are sad, chewy shadows of the real thing. Deep-frying is the only way to get that instant crust formation.
Related topics: Quinoa pudding recipe vegan · Vegan coke brownies recipe · Mango coconut milk ice cream recipe vegan
“Why vodka? Can’t I just use water?”
Vodka evaporates faster than water, leaving behind a delicate, lace-like structure. Water makes the coating gummy and dense. If you’re avoiding alcohol, use 60ml sparkling water + 1 tsp apple cider vinegar, but the texture won’t be as crisp.
“How do I keep them crisp for leftovers?”
You don’t. Reheating fried foods is a fool’s errand. But if you must, spread them on a rack in a 200°C oven for 5–7 minutes—microwaving or air-frying will turn them to leather. Honestly? Just make a fresh batch. It’s worth it.